


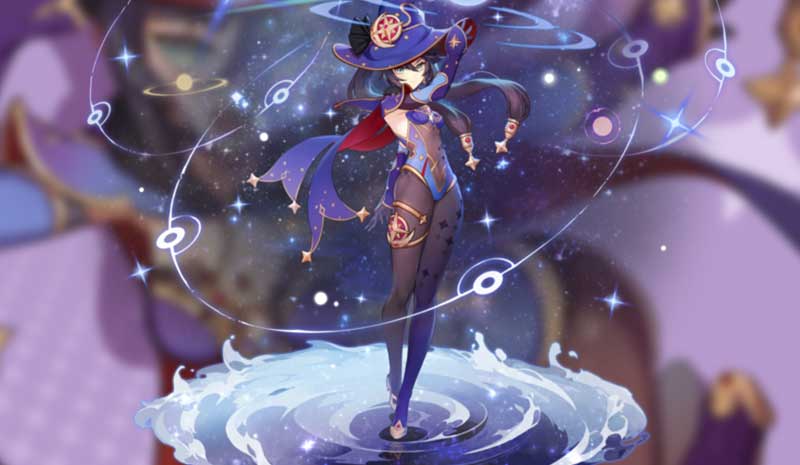
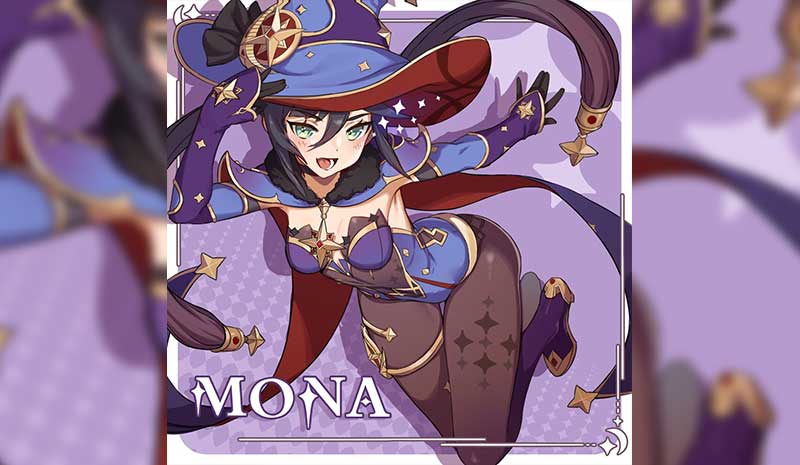
Mona is a 5 star hydro catalyst user in Genshin Impact. She is available to Wish for in the regular banner and has appeared in her own Story Quest as well as a central figure in the concluded Unreconciled Stars event.
Mona: Overview
Mona is a strong hydro mage with a very unique dash mechanic and a kit that emphasizes huge burst damage with equally powerful support capabilities for Elemental Reactions.
Instead of the usual dash, she slips into a puddle of water, allowing her to move around as long as you hold the dash button. She has increased movement speed when using this ability over actual bodies of water, and is invulnerable to damage. As a drawback, she consumes stamina while moving in this mode. Players new to Mona may find her unique dash mechanic a little unwieldy to use at first, since she only becomes invulnerable when she is completely submerged and not before.
Her normal and charged attacks deal decent hydro damage. If invested in significantly, it’s easy to reach around 1,000 damage on her normal attacks. Because she’s a catalyst user, Mona’s normal attacks do not scale in damage like characters who have physical weapons.
Her Elemental Skill Mirror Reflection of Doom, summons a stationary Phantom that taunts enemies while pulsing hydro damage for four seconds. After the Skill ends, the Phantom will deal AoE hydro damage.
Her Elemental Burst is the key to Mona. Stellaris Phantasm is a large AoE ability that imbues enemies with the Wet status. Additionally, enemies will be marked by Illusory Bubble and smaller enemies will be immobilized. Any damage taken by enemies with the mark will pop it, dealing AoE damage and debuffing them with Omen. All enemies with Omen will take increased damage.
Due to the high chance that the AoE damage of Illusory Bubble will cause a chain reaction to all enemies caught in the Burst’s area, she enables high damage values through Elemental Reactions, particularly Vaporize.
Mona’s Builds
Since her burst potential is so high, Mona can be built as a carry to enable the whole team to proc massive Vaporize damage. She can also be built as a support to strengthen team-based Reaction triggers by laying down the hydro aura.
Weapon: Skyward Atlas/Widsith/Lost Prayer
Artifacts:
2pc Noblesse + 2pc Wanderer’s OR 2pc Gladiator
ELEMENTAL MASTERY/ATK hourglass
HYDRO DMG goblet
CRIT DMG/CRIT RATE headpiece (depending on lacking stat)
This is a burst build designed to maximize all possible avenues of damage in order to proc a massive Vaporize Elemental Reaction. Designed to take down any number of enemies, the burst Mona build is extremely reliant on decently-geared supports to enable her. While she can hold her own against enemies in the open world, this build is very swap-heavy, leveraging multiple Elemental Reactions in a single fight to make sure all characters are relatively safe from damage but outputting large amounts of burst damage in rapid rotations.
Widsith is the more powerful weapon over the other five star choices for solo play. Because you swap in and out of Mona frequently, you’re always sure to get a Widsith buff and for her, all three buffs are beneficial and will boost her damage output.
Weapon: Skyward Atlas/Widsith/Lost Prayer/Favonious/Mappa Mare
Artifacts:
4pc Noblesse Oblige
ATK hourglass
HYDRO DMG goblet
CRIT DMG/CRIT RATE headpiece (depending on lacking stat)
A more support-oriented build can take advantage of high Elemental Mastery, Energy Recharge, and Hydro Damage Bonus to ensure enemies affected by your main DPS’s element will trigger a hydro-based reaction reliably and with high damage. This version of Mona won’t crit for big values like the first build but instead will allow you more consistently high damage values. Unlike the burst build, this Mona build is more robust and is easier to learn and coordinate. It’s also a viable build to bring to co-op play.
Team Compositions: Vaporize Burst
For the burst Mona build, the most important teammate for her would be Bennett. Bennett helps enable Mona by laying down his pyro field to debuff enemies with pyro as well as providing Mona with a reliable source of healing.

Sucrose equipped with a Thrilling Tales of Dragon Slayers will also help with this burst composition. Using Sucrose’s Elemental Skill first after Bennett puts down his pyro Burst field will Swirl pyro on targets and making sure they are momentarily staggered. When you then swap to Mona, both abilities of Thrilling Tales and Widsith will proc, giving her a big damage increase when she uses her Burst.
Klee is a great DPS character to include in a Mona Burst lineup. Klee’s Skill and Burst will ensure enemies are debuffed by pyro before insta-swapping-to-Burst Mona. She will also provide Elemental Resonance for Bennett for higher damage values.
The order in which you field characters is important, because having the right order of Skills and Bursts will ensure higher damage and consistent crits on the Vaporize. Here’s a breakdown of how the process goes:
- Bennett will use his Burst to debuff enemies with Pyro.
- Sucrose swap. You really just want for the Thrilling Tales’ effect here but use her Skill anyway to Swirl pyro and activate her Elemental Mastery buffs.
- Swap Mona to get the Thrilling Tales, Elemental Mastery, AND the Widsith buffs. Immediately Burst. This will proc Vaporize for zero damage, cleansing both pyro and hydro debuffs on enemies. Within the same split-second timeframe, the Burst will also apply a new hydro debuff.
- Swap in Bennett, wait for around two seconds, then use his Skill for a massive Vaporize proc. While Mona won’t be the one to proc Vaporize, all the increased damage from Thrilling Tales and Widsith (plus high Elemental Mastery from Mona and Sucrose) will be snapshotted to the Omen debuff ready for Bennett’s pyro damage Skill.
- Swap to Klee to pop the other Omen-affected enemies with her normal attacks for more Vaporize procs.
Team Compositions: Support Mona
Hu Tao is a great DPS for Mona to support. Her Omen debuff allows many enemies to be debuffed with both hydro and increased damage taken, allowing Hu Tao to Vaporize for big damage without too many problems. Having small enemies immobilized also makes it easier for Hu Tao to hit them with her charged attacks.
Diluc is also a good main DPS for a support Mona. Diluc already has high damage values thanks to his talent scaling, but will be boosted even further thanks to Mona’s Burst. Expect big crits to be coming from this pair working in tandem.
Keqing also benefits from Mona’s Burst. Because electro and hydro proc Electro-charged and the damage not only ticks every second but arcs to nearby enemies, popping the Illusory Bubble and enabling Omen procs for high damage will always happen, making usually long fights end quicker than usual.
A DPS carry Bennett is good for a support Mona to consistently proc Vaporize. Both of their Burst abilities affect a wide area, so make sure both have sufficient Energy Recharge in their artifact substats and weapons to make sure both abilities are online and ready to be used when you transition from one fight to another.
Summary
Mona is a great character if you’re looking for big numbers to screenshot or record to flex on your friends. Her dash and actual ability mechanics may be confusing at first, but practice against enemies in the open world will help you understand how she works in conjunction with other characters in a more or less safe and controlled environment before you take her and her team to farm bosses and challenge the Spiral Abyss.
JD Pablo Editor-in-Chief
JD Pablo is the current Editor-in-Chief of twenty8two. Enjoys video games, pizza, banana bread, and tea. Takes coffee black.

No comments so far.
Be first to leave comment below.